
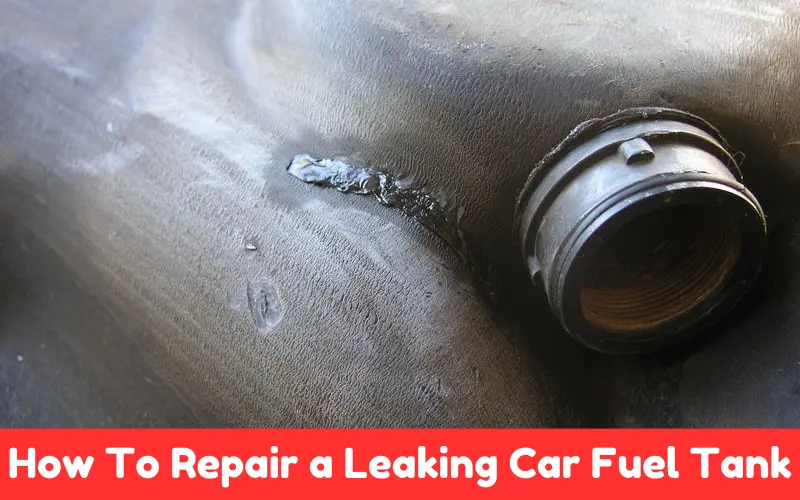
A fuel tank leaking under your car can be dangerous to your safety and expensive to your fuel budget. If your fuel tank leaks, you should identify the problem and fix it immediately.
You may be thinking of how to repair a leaking car fuel tank. While many fuel tank leaks can be repaired at home or at J.C. Lewis Lincoln of Savannah. Leaving a bad leak to your mechanic may be best.
Flammable supplies and dangers to your safety make it a great idea to learn what gear you need and how to fix your fuel leak if you plan to attempt this DIY repair.
Once you have the tools, this handy guide will show you how to diagnose and repair a fuel leak.
Article Summary
How To Repair a Leaking Car Fuel Tank: A Step-by-Step Guide
Although minor in the short term, a leaking fuel tank can spell disaster if fuel ends up too low for engine operation or, even worse, leaks into areas where things will combust due to spark or ignition from hot parts. A leaking fuel tank is a time bomb!
If you have fuel in the interior of the car, onto the floor of the car, onto the driveway, etc, do yourself a big favor and check for leakage from your fuel tank.
A car owner can often fix a leaking car fuel tank with readily available tools. The following blog post will guide diagnosing a leaking car fuel tank.
Step 1: Safety First
Before you begin any repairs, it’s crucial to prioritize safety:
- Work in a Well-Ventilated Area: Make sure you’re operating outside or in a properly ventilated garage, so fumes don’t accumulate.
- Wear Protective Gear: Use gloves, safety goggles, and a mask to protect yourself.
- Avoid Open Flames: Keep any sources of ignition away from your workspace.
Step 2: Identify the Leak
If you want to fix a leaking fuel tank, you need to find out where the leak is coming from.
1. Visual Inspection
- Check for Fuel Stains: Scan the tank and look under the vehicle for any wet or stained areas.
- Check Fuel Lines And Fittings: Ensure no cracks or other damage to the hoses and connections leading into and out of the fuel tank.
2. Pressure Test
Unless you could spot the leak with the naked eye, you had to conduct a pressure test, which involved pressurizing the fuel tank and seeing whether it was leaking.
The hand pump slowly pressurizes the tank via the fuel filler neck. Block off all openings, leaving the filler neck exposed. Apply soapy water to the suspected area. Bubbles will appear when a leak spot is reached.
Step 3: Drain the Fuel Tank
Before you can repair the tank, you’ll need to safely drain it:
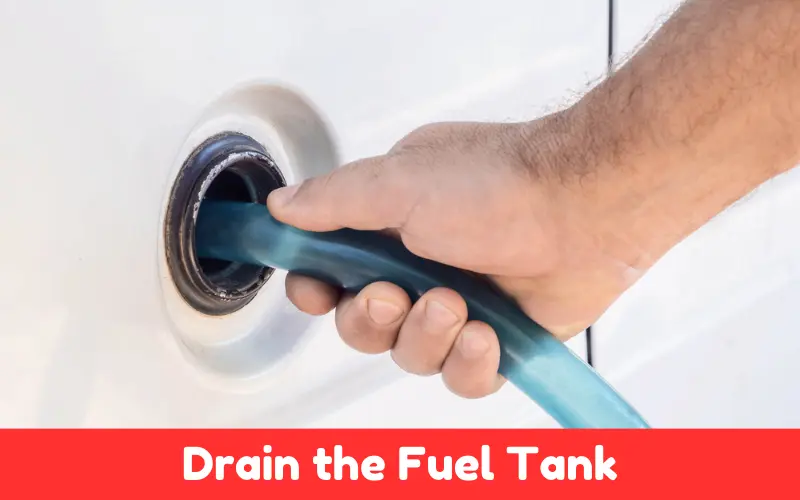
- Siphon the Fuel: Siphon some fuel from the tank using a siphon pump. Pour it carefully into an approved container and save it for another time.
- Remove Fuel Pump (if applicable): If you have a fuel pump built into your car, you may need to remove it so the tank can be accessed for repair.
Step 4: Clean the Area
Before any repairs, it is a good idea to clean your working area so your repair adhesives will stick well to your surfaces.
- Degrease With A Degreaser: Work a degreaser into the area around the leak to remove dirt, grime, and residual fuel.
- Dry the Surface: Ensure the area is completely dry before proceeding with repairs.
Step 5: Repair the Leak
What you do next depends on how big the hole is and where it’s located.
1. Epoxy or Sealant
A high quality epoxy or fuel tank sealant can work effectively for small leaks.
Application:
- Mix the epoxy according to the manufacturer’s instructions.
- Apply it directly over the leak, ensuring it covers the entire area.
- Allow it to cure fully as per the product’s guidelines.
2. Patch with a Fuel Tank Repair Kit
Consider using a repair kit specifically designed for fuel tanks for larger leaks.
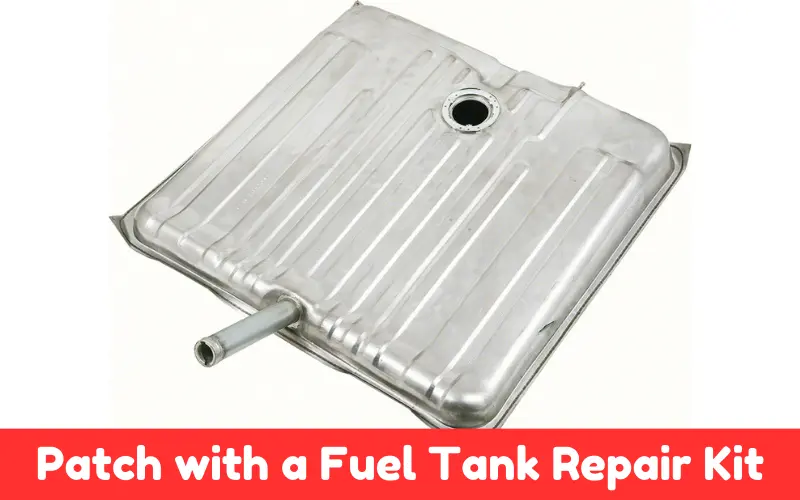
Steps:
- Follow the kit instructions carefully.
- Clean the area thoroughly.
- Apply the patch and secure it according to the kit’s guidelines.
3. Welding or Soldering
If the leak is in a metal tank, you might need to weld or solder it back together. That’s advice best left to professionals, but if you’re a welder:
- Preparation: Make sure the tank is empty and dry before welding.
- Welding: weld the spot. Seal an air leak with a MIG or TIG welder. Be careful and follow safety protocols.
Step 6: Reinstall the Tank
Once the repair is complete and fully cured:
- Reinstall the Fuel Pump (if removed): Reconnect any lines removed from the fuel tank. Reconnect all the electrical connections.
- Reinstall the Fuel Tank: Lift the tank back into place and reinstall it with the original mounting hardware.
Step 7: Refill and Test
After reinstallation, it’s time to test your repair.

- Refill the Fuel Tank: Slowly add fuel back into the tank.
- Look For Leaks: Start the vehicle, and look for further leaks in the area you have just repaired. Watch for leaks as the fuel tank is filled.
Step 8: Dispose of Waste Properly
Be sure to dispose of all used fuel containers and rags following local ruminant health regulations. Never pour fuel in a drain, nor toss it in a rubbish dump.
FAQs on How To Repair a Leaking Car Fuel Tank
What Are the Common Causes of a Fuel Tank Leak?
Some common causes are rust, road debris, normal wear and tear on fuel lines, bad seals or gaskets, and fuel tanks in older vehicles, which are especially risky.
Can I Drive My Car with a Leaking Fuel Tank?
Of Course, it is not. It increases the fire risk and causes fuel spills into the environment . so fix it.
How Do I Know If My Fuel Tank is Leaking?
Some warning signs include a strong smell of fuel, fuel dripping from the vehicle, poor fuel efficiency, and lights on the dashboard. An external inspection might show a discoloration or moist spot on the tank.
Is It Safe To Repair a Fuel Tank Myself?
Small leaks, like the ones that cause a puddle under the car or a hissing sound when the engine’s off, can often be dealt with at home, using sealant or a patch and a bit of ingenuity. However, a professional mechanic should address a leak that makes you nervous or leaves you second guessing.
How Long Will a Fuel Tank Repair Last?
How long the repair will last depends on the type of repair made and the tank’s condition. A properly made epoxy or sealant can last several years, depending on the repair. Still, it is probably not a permanent solution to larger or more severe leaks, which should be inspected regularly.
Final Thoughts
Repairing a loose fuel tank leaking in your car will save you from spending money on unnecessary repairs to ensure that the vehicle performs safely.
Some repairs are easy, and you can supply your own carburetor likewise, while you can do others at home and others not.
Regardless of what you choose to do, you have to keep in mind that safety always comes first.
If you are an amateur mechanic and feel uncomfortable with any particular step or a huge leak, then it is smart to call a professional mechanic.
So, follow these steps, and do not joke with a leaky fuel tank to keep your vehicle in mint condition.