

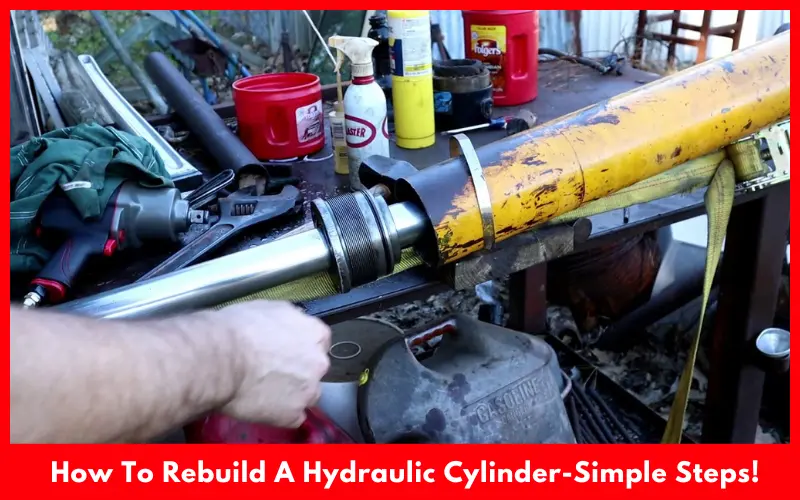
Signs like decreased hydraulic cylinder performance, excessive power consumption and fluid leaking from below the gland usually indicate that you should rebuild the hydraulic cylinder. But how to rebuild a hydraulic cylinder?
You need to disassemble the hydraulic cylinder and inspect all of its components first. After that, you should replace any damaged parts and reassemble hydraulic cylinder. It’s always a good practice to test the cylinder performance to ensure proper functionality.
But hey, this is not the full story. Keep reading to know the detailed steps of rebuilding both threaded and wire ring hydraulic cylinders. Their rebuilding process requires different steps to follow.
Article Summary
- Should You Rebuild A Hydraulic Cylinder?
- How To Rebuild A Hydraulic Cylinder?
- Things You’ll Need
- How To Rebuild A Threaded Hydraulic Cylinder
- Step 1: Preparatory step
- Step 2: Remove The Set Screw
- Step 3: Replace The Seals And O-Rings
- Step 4: Re-Assemble The Parts
- How To Rebuild A Wire Ring Hydraulic Cylinder?
- Step 1: Remove The Cylinder And Wire Ring
- Step 2: Remove The internal Ring
- Step 3: Insert The Plastic Ring into The Tube Groove
- Step 4: Remove The Piston, The Lockout, And The Head
- Step 5: Re-Assemble The Parts
- Additional Tips For Rebuilding Your Hydraulic Cylinder
- FAQs
Should You Rebuild A Hydraulic Cylinder?
Before discussing the complete procedure of rebuilding a hydraulic cylinder, we’d like to discuss something basic. Sometimes engine sounds like helicopter but it can be damaged hydraulic cylinder. You may also feel reduced engine power.
Is it better to rebuild a hydraulic cylinder? Which one will be more beneficial? And, when you don’t have any choice other than replacing hydraulic cylinder? Let’s have this surface-level discussion first.
Condition of The Cylinder
First off, know the condition of its main body. Inspect the main parts such as the tie rods and piston to determine their condition. If you find the parts cracked or bent or have damages beyond repair, it’s better to replace the cylinder.
Cylinder Type
In simply manufactured hydraulic cylinders, four bolts connect the end caps. Their overall structure is simple. If you are used to handling these types of DIY projects, you can simply rebuild the old cylinder (without major mess-up).

But there are more complicated cylinders such as re-phasing cylinders having two pistons or double-acting cylinders. They are more difficult to rebuild. If you are not confident enough to beat the issues yourself, it’s better to seek professional help.
Cost Comparison
In most cases, rebuilding the cylinder is more affordable than replacing it with a new one.
Sometimes, the overall cost (cost for the materials/parts plus labour) of rebuilding a hydraulic cylinder is similar to purchasing a new cylinder. In such cases, you should invest in a new hydraulic cylinder instead of rebuilding or repacking the old one.
Therefore, understand the situation first and decide wisely.
How To Rebuild A Hydraulic Cylinder?
If you’ve decided to rebuild your hydraulic cylinder, following the instructions will be enough for you.
Things You’ll Need
- A seal kit
- A rubber mallet
- A torque wrench
- A screwdriver
- Hydraulic fuel
- Emery cloth
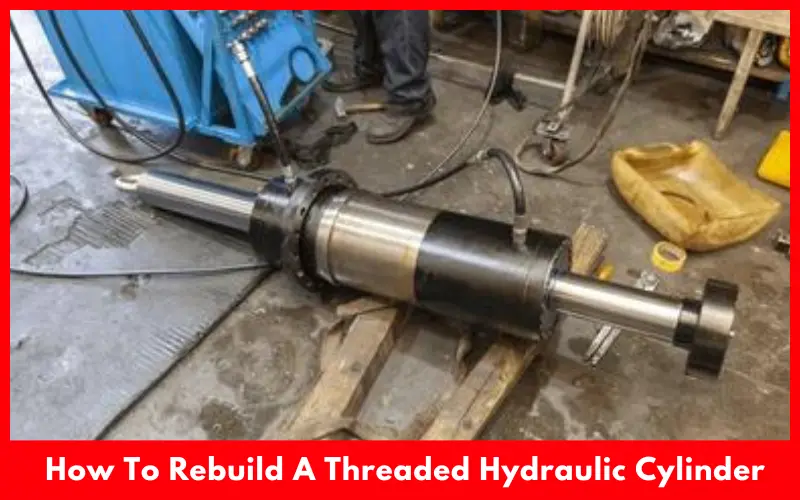
How To Rebuild A Threaded Hydraulic Cylinder
Rebuilding a threaded hydraulic cylinder is less complicated compared to a wire ring cylinder. We will share the process of rebuilding a wire ring cylinder as well (pin it for later). Let’s see the procedure for a threaded cylinder first.
Step 1: Preparatory step
There’s a set screw in a threaded cylinder that connects all the internal parts and keeps them in place. Before you remove the set screw, it’s important to remove any hydraulic fluid inside the ports on the cylinder.
Step 2: Remove The Set Screw
Now, get rid of the set screw, gland, end cap, and rod assembly. Remove all seals and O-rings as well. If there’s a need for replacement of the rod, piston, end cap, or gland, loosen the lock nut that’s located at the end of the rod assembly.
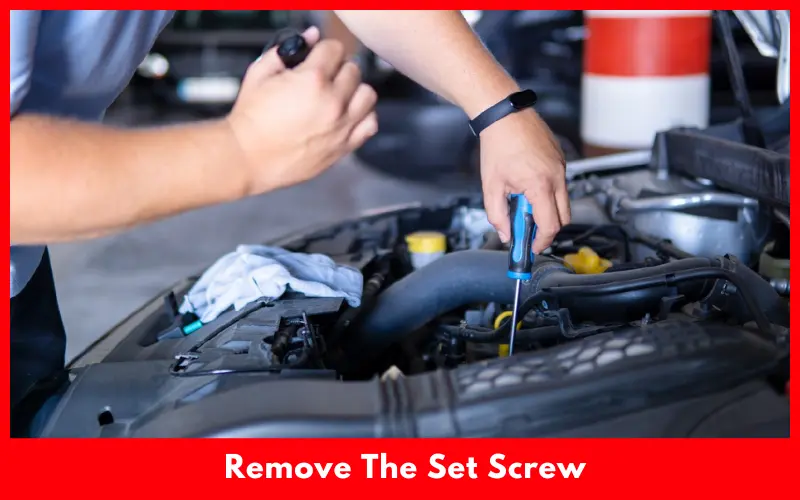
Loosening the lock nut will allow you to remove any component that requires a replacement.
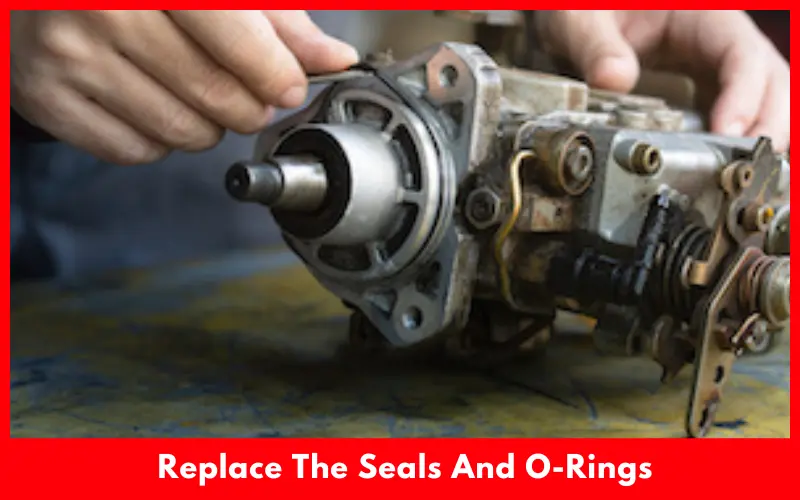
Step 3: Replace The Seals And O-Rings
This time, you should replace the seals and O-rings. Use hydraulic fluid or any other lubricant when removing these parts.
Step 4: Re-Assemble The Parts
Re-assemble the rod and keep the gland and end cap in place. After that, slide back the cylinder rod in the cylinder housing. Re-assemble the end cap in the right place as well as reinstall the set screw. Use a torque wrench to reinstall the set screw.
Finally, reinstall your cylinder into the hydraulic system and don’t forget to reconnect the hoses.
How To Rebuild A Wire Ring Hydraulic Cylinder?
Now, we will walk you through the process of rebuilding a wire ring hydraulic cylinder. Let’s get started.
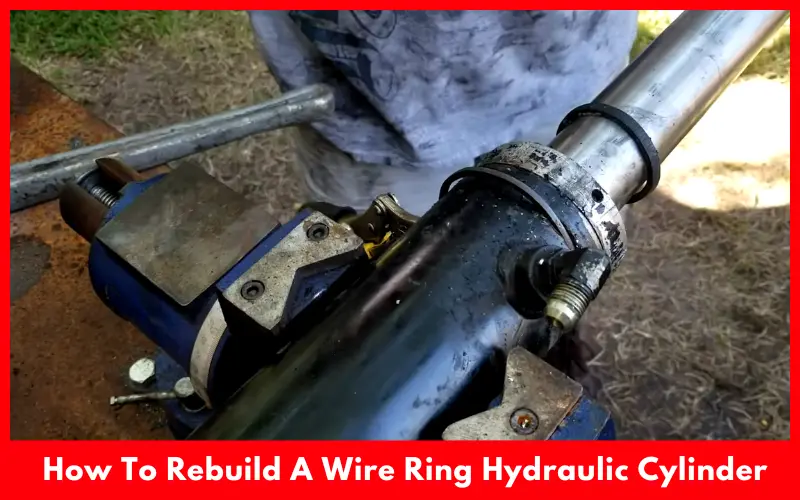
Step 1: Remove The Cylinder And Wire Ring
First off, detach your cylinder from the machinery. Then, get rid of the wire ring as well. Now, you’ll want to clean any dirt or debris you notice under the ring. You’ll need to clean from now and then throughout the whole procedure.
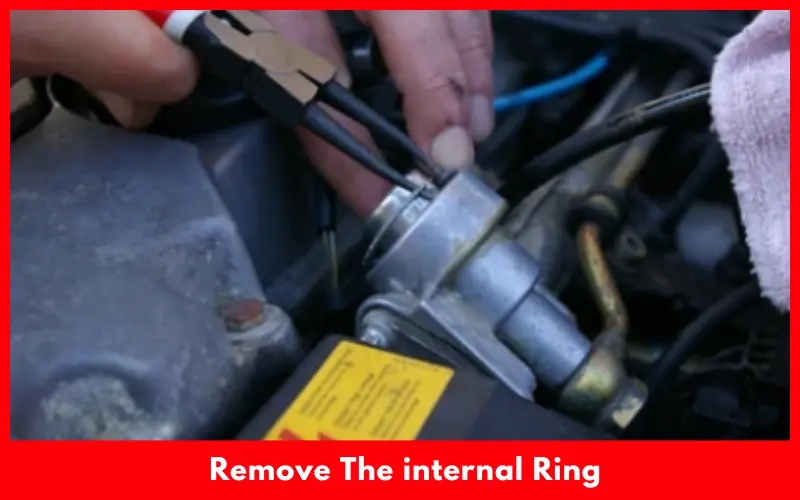
Step 2: Remove The internal Ring
To remove the internal ring, you need to get help from the rubber mallet. Give pressure onto the head of the tube using the mallet. Keep adding gentle pressure until you see the tube groove. Once you remove the tube groove, it will allow the internal ring to loosen and get out eventually.
Step 3: Insert The Plastic Ring into The Tube Groove
This time, you need to straighten out the plastic tube. After that, gently insert it into the tube groove. The ring should fit snugly into the groove. After that, you need to pull the head from the tube. To do so, drag out the rod first.
If you feel any resistance here, you can use a washer and then push back in using a screwdriver. It will help the ring to set in the groove perfectly. You can also use hydraulic fuel in places where the parts feel too right.
Step 4: Remove The Piston, The Lockout, And The Head
In this step, you need to get rid of the old seals and O-rings and replace them with new ones. You’ll get all the necessary tools in a seal kit. Then, make sure the inside of the rod is clean and free from any scratches. Use an emery cloth to smooth the inside of the rod.
Replace the locknut and piston if necessary.
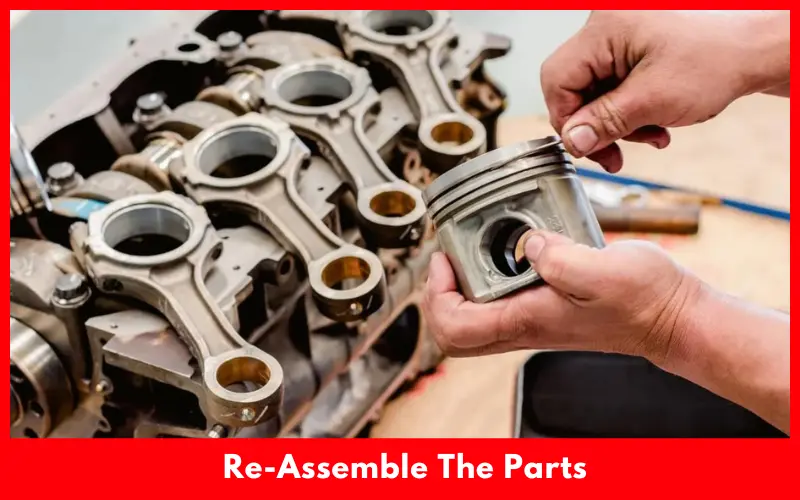
Step 5: Re-Assemble The Parts
If you don’t need to replace the piston and locknut, simply re-assemble them. Use hydraulic fuel if necessary. After that, reinstall the wire ring and make sure every part is re-assembled properly.
Additional Tips For Rebuilding Your Hydraulic Cylinder
Following these tips will make your path easier when rebuilding a hydraulic cylinder.
- You can take video footage or click photos when disassembling the parts of your hydraulic cylinder. This will help you get things right when you re-assemble the parts afterwards.
- Replace damaged parts (if there are any) before you rebuild your cylinder. This will prevent further issues and save you money in the future.
- Make sure you have all the correct tools for the operation before starting the procedure. The tools should be clean and properly functional as well.
- If you replace the seals, make sure they’re the right fit. If not, you should resize the seals to ensure the perfect fit. The cross-sectional shape, diameter, and overall sizing of the seals directly affect the performance of your cylinder. So, it’s better not to skip this part.
FAQs
Is Repacking And Rebuilding A Hydraulic Cylinder The Same Process?
No, repacking and rebuilding a hydraulic cylinder doesn’t indicate the same procedure. While repacking, you will just replace the seals within your cylinder. It’s a part of the maintenance task.
On the other hand, rebuilding is a broader term. Repacking is just a part of rebuilding a hydraulic cylinder. Rebuilding requires a more comprehensive inspection of the entire hydraulic cylinder. In this case, you need to take care of other components such as the rod or piston as well.
How Expensive Is Rebuilding A Hydraulic Cylinder?
The sealer kits usually start from $45. If you want a range, then it can be $45-100 for the repair kit. There’s no need for any special tools, so you may not have to spend money on any tools.
If it’s not a DIY project, the labour cost can be around $120-$160 an hour.
How Long Do Hydraulic Cylinders Last Usually?
The longevity of hydraulic cylinders depends on some factors. For example, the workload they withstand, the frequency of use, the quality of the maintenance, and some other operating conditions matter here. Usually, you can expect them to last around 15-20 years if maintained properly.
Final Words
We tried our best to cover the complete process of how to rebuild a hydraulic cylinder in the simplest way possible.
Maintenance is a key to longevity, no matter which type of hydraulic cylinder you own. If you want to have a longer journey with the cylinder, regularly inspect the seals O-rings, and other parts of the cylinder. Make sure you replace any damaged parts to get the best performance.